You know I love to recycle materials to make fun preschool projects. I also like to use materials in different ways to help encourage kids to explore new ideas. I was recently asked to take a look at the new 1-2-3 card making systems created by David Tutera which makes it super simple to create your own handmade cards. Even your preschooler can make beautiful cards and pretty projects with their own personal touch. While you make cards for your friends, your preschooler could help make cards for their friends too using David Tutera Paper Crafts products. (Keep reading to find out how you can win a great prize pack of these goodies.)
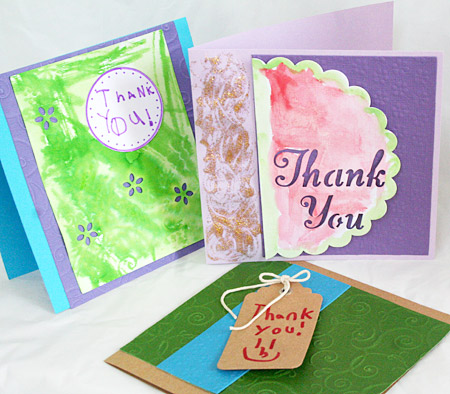
Those pretty painted cards up there, that’s from my 5 year old artist. Pretty papers and layers from David Tutera combined with some preschool art supplies and we had beautiful cards in no time! Find out more about our card making day . Aside from cards, there’s more creative fun to be had with these neat pre-cut, easy to use paper crafting pieces and parts. I’m going to show you what else you can do with these fun products. First, here’s what the supplies look like…
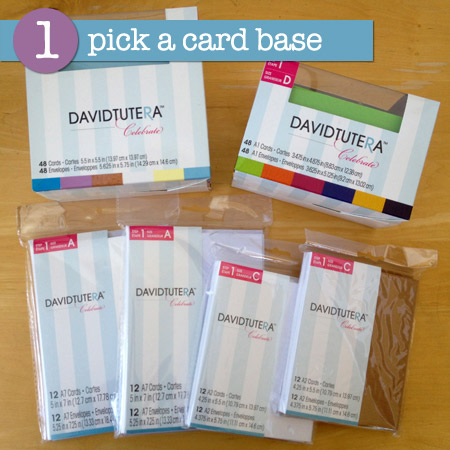
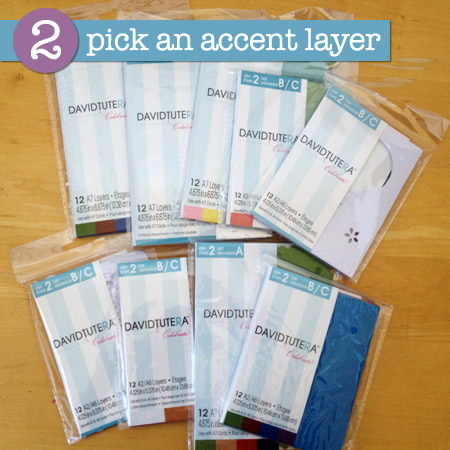
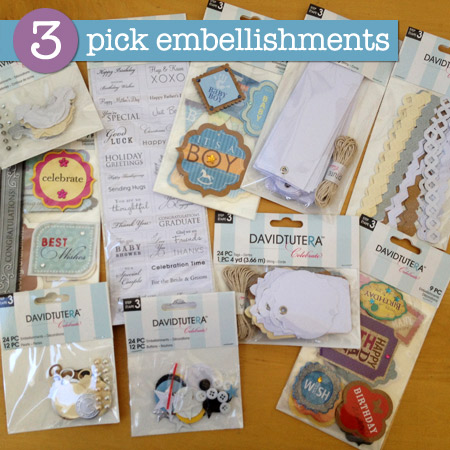
Normally, when you make cards, you pick a card base from group 1, then add layers from group 2 and then finish off your card with embellishments and accents from group 3. We however used these products a little differently because we wanted to make some art.
Start off with a little creative art making adventure
using David Tutera’s card making materials.
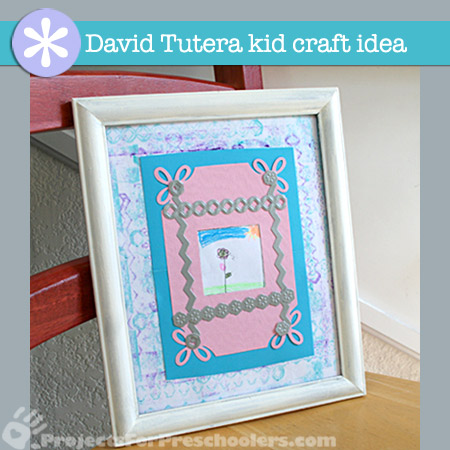
Set out a selection of die decorative add-ons, colorful cards and pre-cut shapes to see what great art ideas your preschooler has. We decided to make our own drawing framed by decorative paper pieces. Lay out the pieces as you imagine they’d look best before starting, think of this as art creation and collage without the glue. This will allow your preschooler to explore the different ways they can place their different paper and shapes.
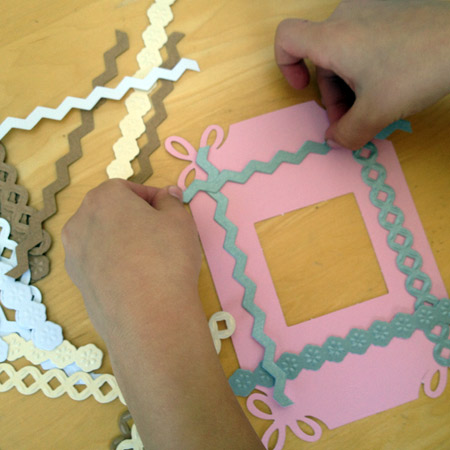
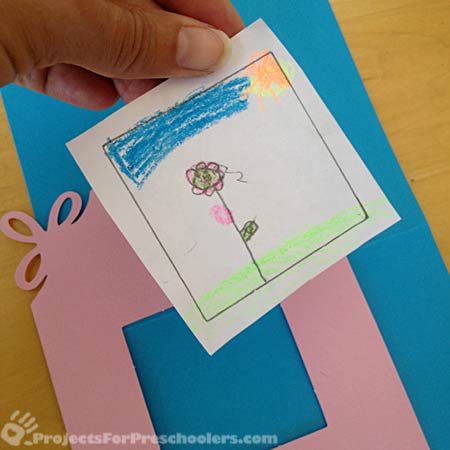
Draw your art – I used one of the pre-cut frames and traced the square opening on to a white piece of paper. Then my preschooler drew her own picture. We then cut out the picture, making sure to leave a little extra around the edges for sizing, and glued to the back of the paper frame. We added some of the “step 2” decorative paper boarders with glue and then set the whole piece aside.
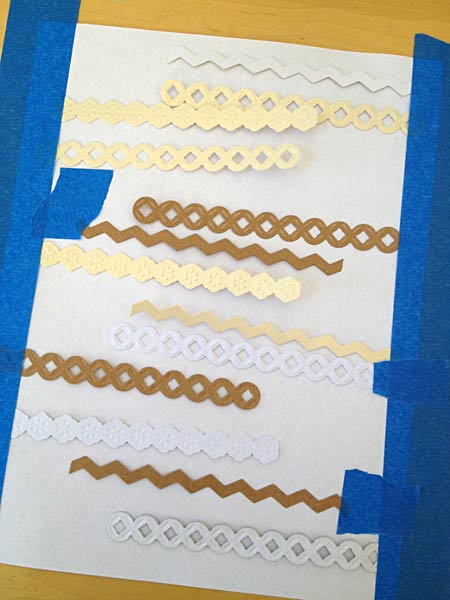
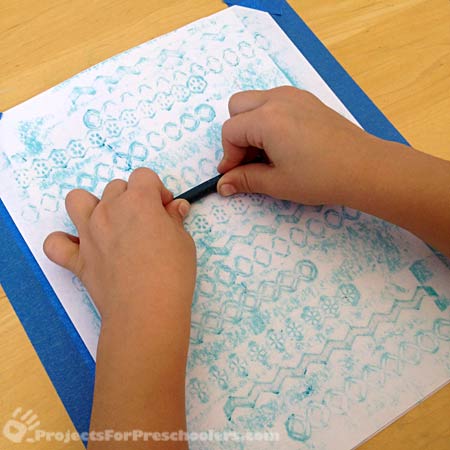
Make a crayon rubbing for a background – Next we needed to make the art piece bigger to fit in the 8×10″ frame I have. So, I used blue painter’s tape to keep some of the decorative paper borders in place on a piece of paper. The painter’s tape makes it easy to remove the pieces later without ruining the paper… we wanted to keep them nice for use later. Then we put a white piece of paper over the top and rubbed over the paper with a crayon. The pattern this created was wonderful! We started with one color, then changed the position of the paper and used a second color.
Put it all together – Now we put our art piece on top of the pretty patterned background and put it all in a frame. We’ve now got a great custom art piece!
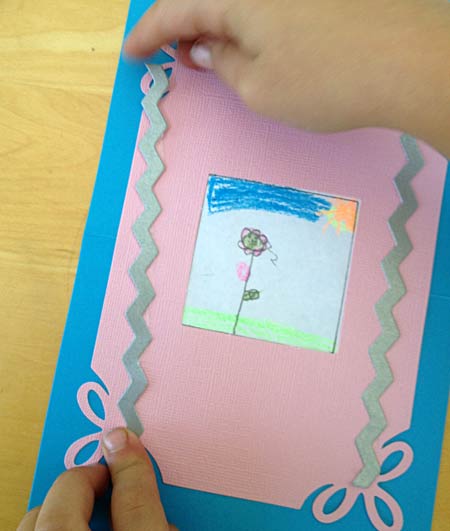
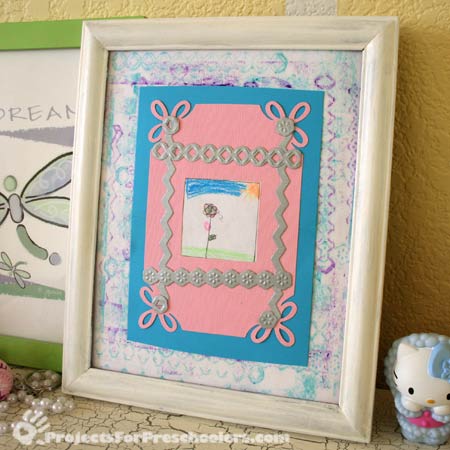
What I love most about making an art project like this is your preschooler can focus on being creative without worrying about the technical process of creating the pieces. They don’t have to be great with the scissors, they can explore and imagine how to put the pieces together however they like. They can mix and match and add pretty accents without having create the whole look from scratch. That’s a perfect process for any age!
To find more creative ideas using these products, check out:
Social Media Accounts to Share at the End of Your Post
Facebook: http://www.facebook.com/DavidTuteraCelebrate
Twitter: https://twitter.com/TuteraCelebrate
YouTube: http://www.youtube.com/user/CoredinationsPaper/videos
Facebook: http://www.facebook.com/DavidTuteraCelebrate
Twitter: https://twitter.com/TuteraCelebrate
YouTube: http://www.youtube.com/user/CoredinationsPaper/videos
BONUS: Enter to Win!
Three lucky winners will receive a $300 grand prize pack of supplies from
David Tutera’s Celebrate cardmaking line AND a personally signed book from David!
20 additional winners will receive a $50 Celebrate prize pack.
David Tutera’s Celebrate cardmaking line AND a personally signed book from David!
20 additional winners will receive a $50 Celebrate prize pack.
Sign up here for a chance to win: http://pages.exacttarget.com/tutera-optin-blog/ .
Disclaimer: I was provided with a big box of goodies so I could try them out and share these ideas with you. Photos, project ideas and opinions are all my own.
Final note: You can find the David Tutera Paper Crafts Card Making system products at Jo-Ann Stores (coming soon!) I’d love to see what creative fun you make with these products, let me know!
More great projects using David Tutera’s Paper Crafts:


How cool!! I know the kids just loved it!! What a great idea!