Learn about circles and counting 3 and 4 while making this fun shamrock and clover garland. You preschooler can make their own shamrocks and clovers, decorate them how they’d like and then string them up to decorate the house with St. Patrick’s day fun. You can also talk about different shades of green or talk about light and dark colors with this project. We used a circle craft punch to make our circles for this project, but you could cut them out by hand too.
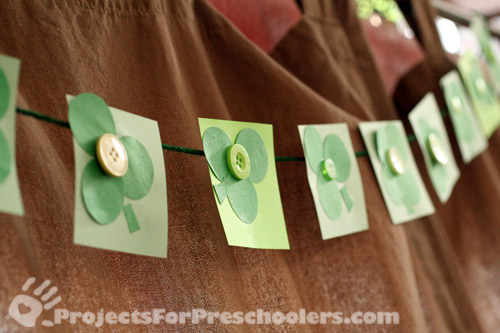
We decorated our shamrocks and 2 leaf clovers with buttons. If you don’t have buttons you can use a circle of paper in the middle, some painted glitter or anything else you’d like.
Materials you need to make a shamrock and 4 leaf clover garland:
- Green paper
- Scissors
- Glue
- String or yarn
- Buttons
- Tape or hole punch to attach yarn (optional)
How to make your own shamrock and 4 leaf clover garland:
- Cut out circles of paper to use for the leaves of the shamrocks and clovers. Approximately 1-2″ diameter. Cut squares to use for background pieces, 2-3″ wide.
- Use scraps of paper to cut small stem pieces.
- Glue 3 circles together on a background piece for shamrocks and 4 circles together for 4 leaf clovers. Add a stem and glue in place.
- Add any extra embellishments you’d like such as a button in the middle. Let dry.
To add string for garland there are a couple options:
- tape yarn to back of each square.
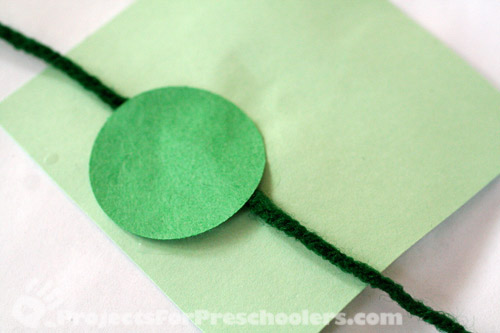
- use a piece of paper to glue yarn to each square.
- punch holes in each square and string yarn through the holes.
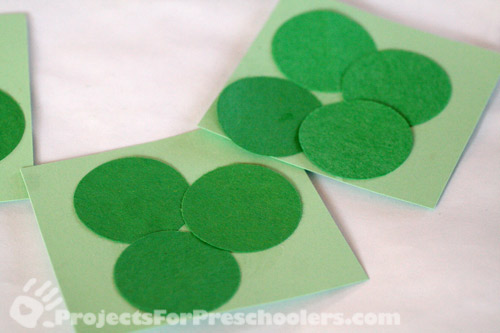
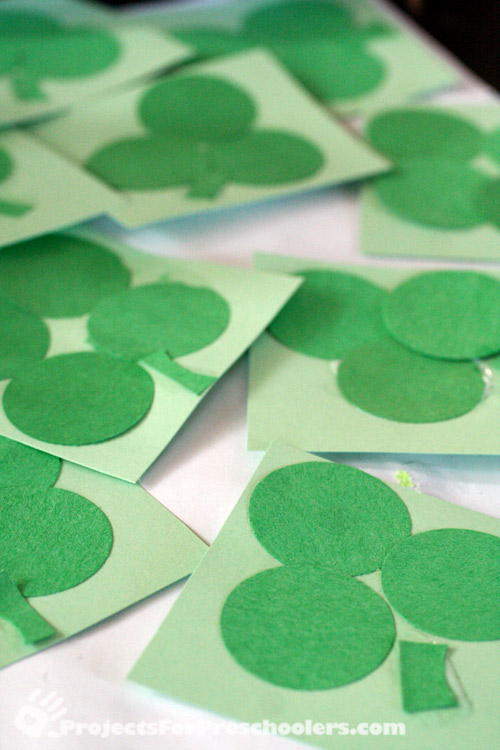
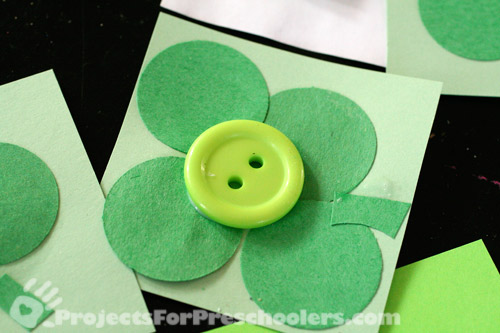
Have fun making your own St. Patrick’s Day garland and decorating for the Irish fun. This project can also help teach the difference between shamrock and 4 leaf clovers while practicing cutting, gluing and counting. I’d love to see what fun you come up with!
