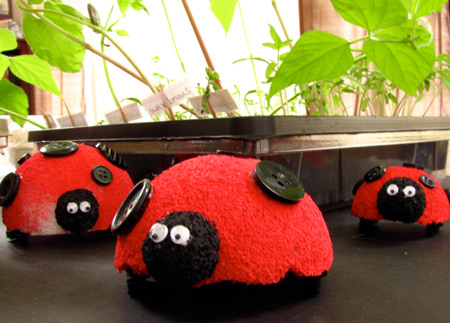
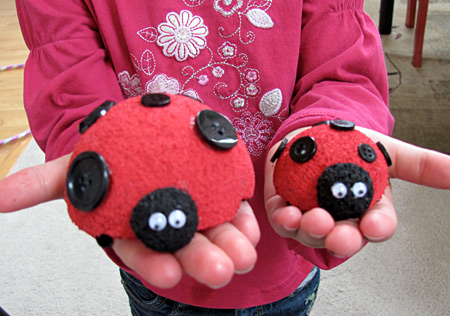
Not all bugs are creepy and crawly, ladybugs are the princesses of the bug world. We’ve made some ladybugs using Styrofoam balls combined with a few simple supplies while practicing painting, gluing and fine motor skills. Get ready to have some fun making cute Stryofoam ladybugs with your preschooler.

What you need:
- Styrofoam balls in sizes: 4″, 2″ and 1″
- Red paint
- Black paint
- Black buttons
- Aleene’s quick dry tacky glue
- Black chenille stem
- Small googly eyes
- pencil and toothpicks for holding while painting
How to make a Styrofoam ladybug:

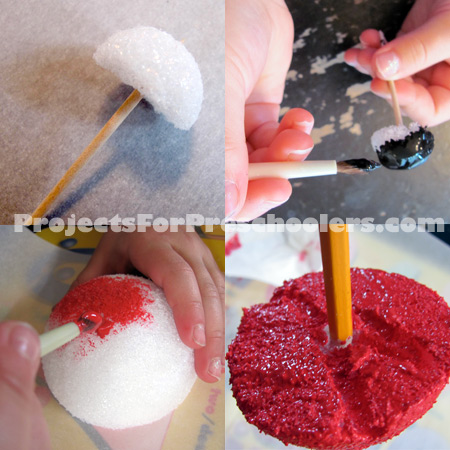
- Cut each ball in half. You need half of a 4″ and half of a 1″ ball to make one ladybug. Half of the 2″ ball makes the small ladybug.
- Carefully poke pencil or toothpick into flat side of ball half. This will be a handle to easily hold the ball while it is painted. Paint the large ball red, paint a 1″ ball half black. Let dry.

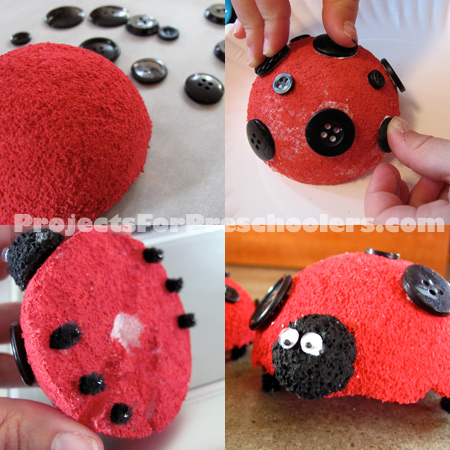
- With flat side of red ball face down, glue the black ball with flat side against the red ball.
- Glue buttons on to red ball to create the ladybug spots.
- Cut chenille stem into 6, 1/2″ pieces. These are the feet. Gently insert into the bottom of the ladybug body, 3 on each side.
- Glue eyes onto head.


So cute Jen!
very cute and easy craft, love it